How to Create an Effective Architectural Bubble Diagram
Creating architectural bubble diagrams, UX flows, or mind maps with Archi Bubble is designed to be intuitive and fast. Here's a step-by-step guide to get you started:
1. Create a Bubble
Simply double-click anywhere on the canvas. This action creates your first bubble.
2. Name Your Space
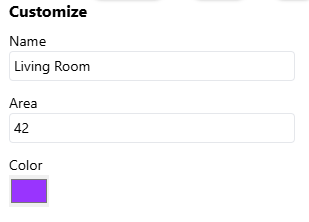
A pop-up window will appear immediately after creating the bubble. Enter the desired name for your space (e.g., "Living Room", "User Login", "Main Idea") in this window and confirm.
3. Define the Area (Optional)
While not explicitly mentioned as a separate window in your steps, you can often adjust the size or area associated with the bubble. Select the bubble, and use the side panel options to adjust its area or size representation if needed for your specific diagram type (like architectural diagrams).
4. Connect Your Bubbles
Once you have multiple bubbles, you can connect them:
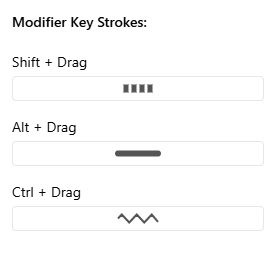
- Click and drag from the edge of one bubble to another.
- Choose different connection types (like thick, thin, dotted) using modifier keys (Shift, Alt, Ctrl) while dragging, or select a connection and modify its style in the side panel.
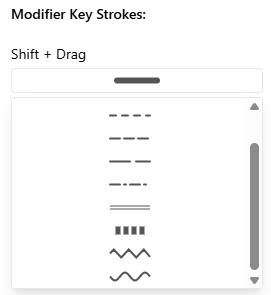
You can also use predefined connection styles:
5. Customize Your Diagram
Archi Bubble offers flexibility:
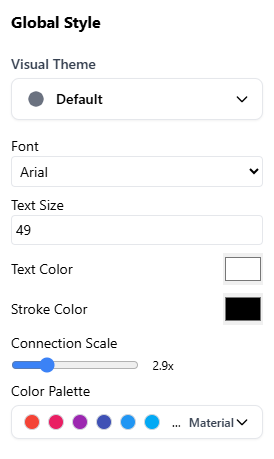
- Global Configuration: Use the main settings panel to change the overall theme (like Default, Sketch, Modern, Brutalism), default fonts, text sizes, and connection styles.
- Customized Configuration: Select individual bubbles or connections to override the global settings and apply specific colors, styles, or sizes.
6. Export Your Work
When your diagram is complete, use the export function (usually found in the toolbar or file menu) to save your diagram as an image (like PNG or SVG) or potentially other formats.

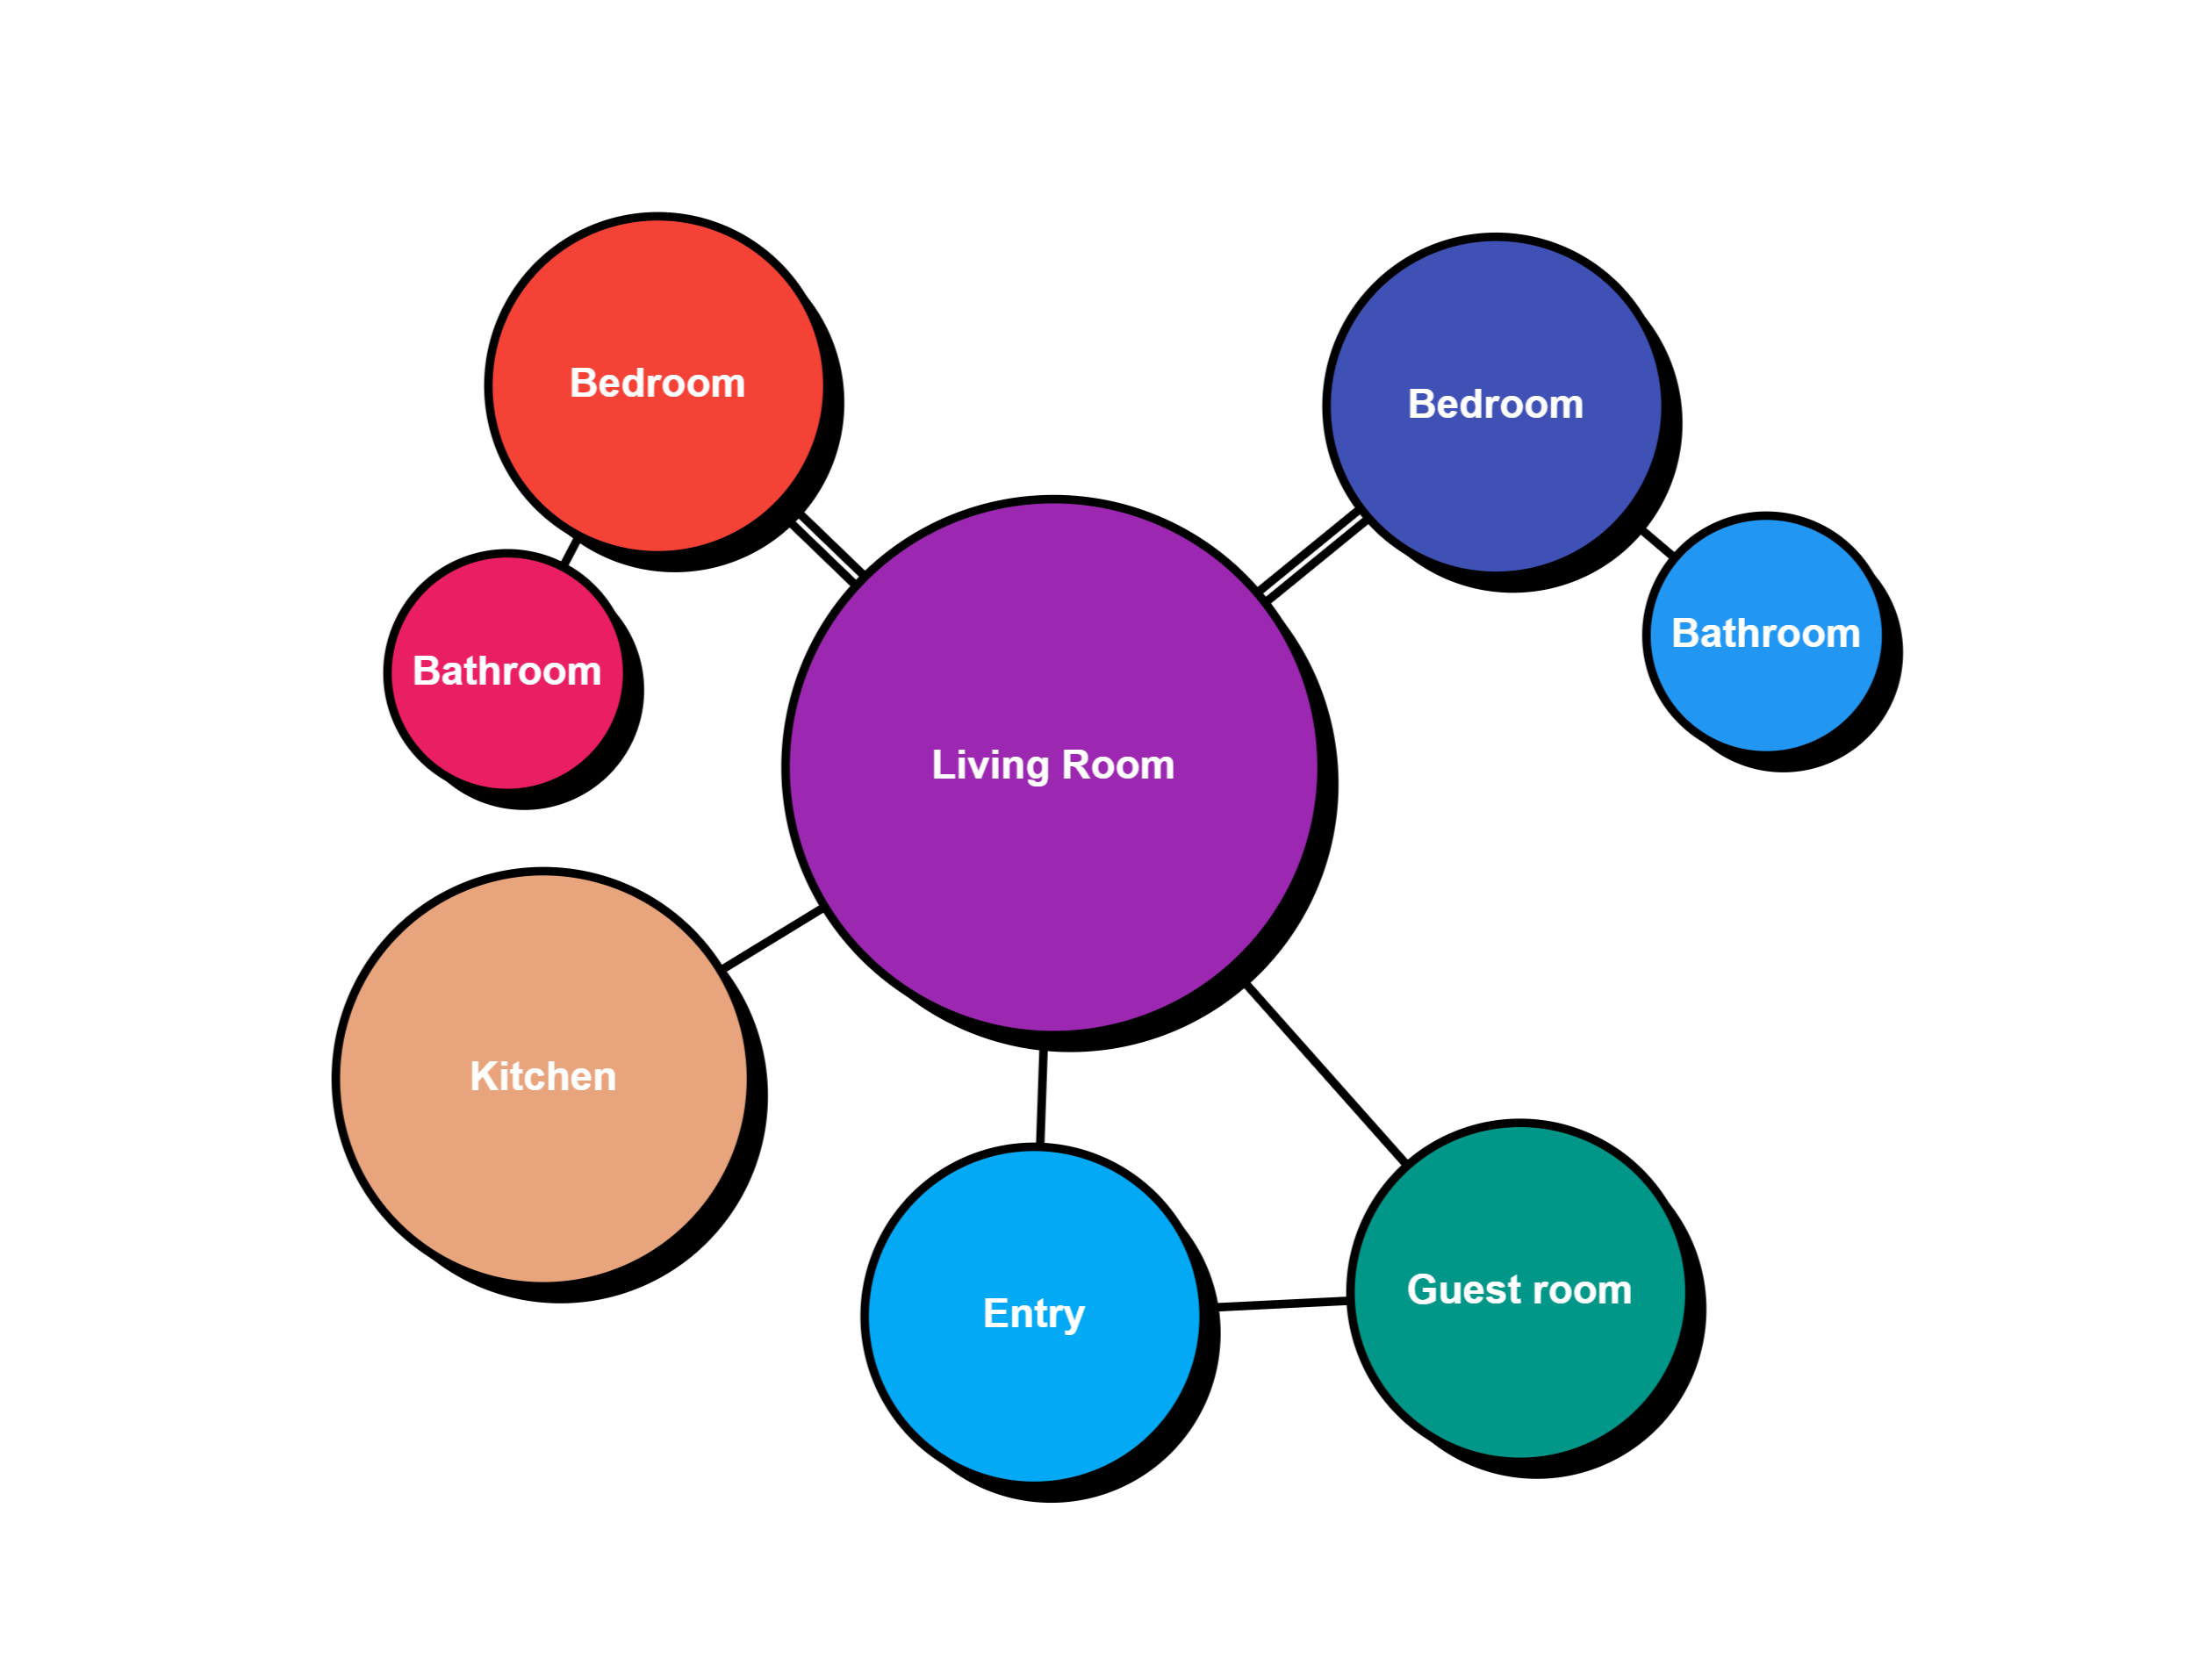
Final Result
Following these steps, you can easily create clear and visually appealing diagrams like this example:
Ready to try it yourself? Launch the Archi Bubble app here!
Happy diagramming!